Hardness testing
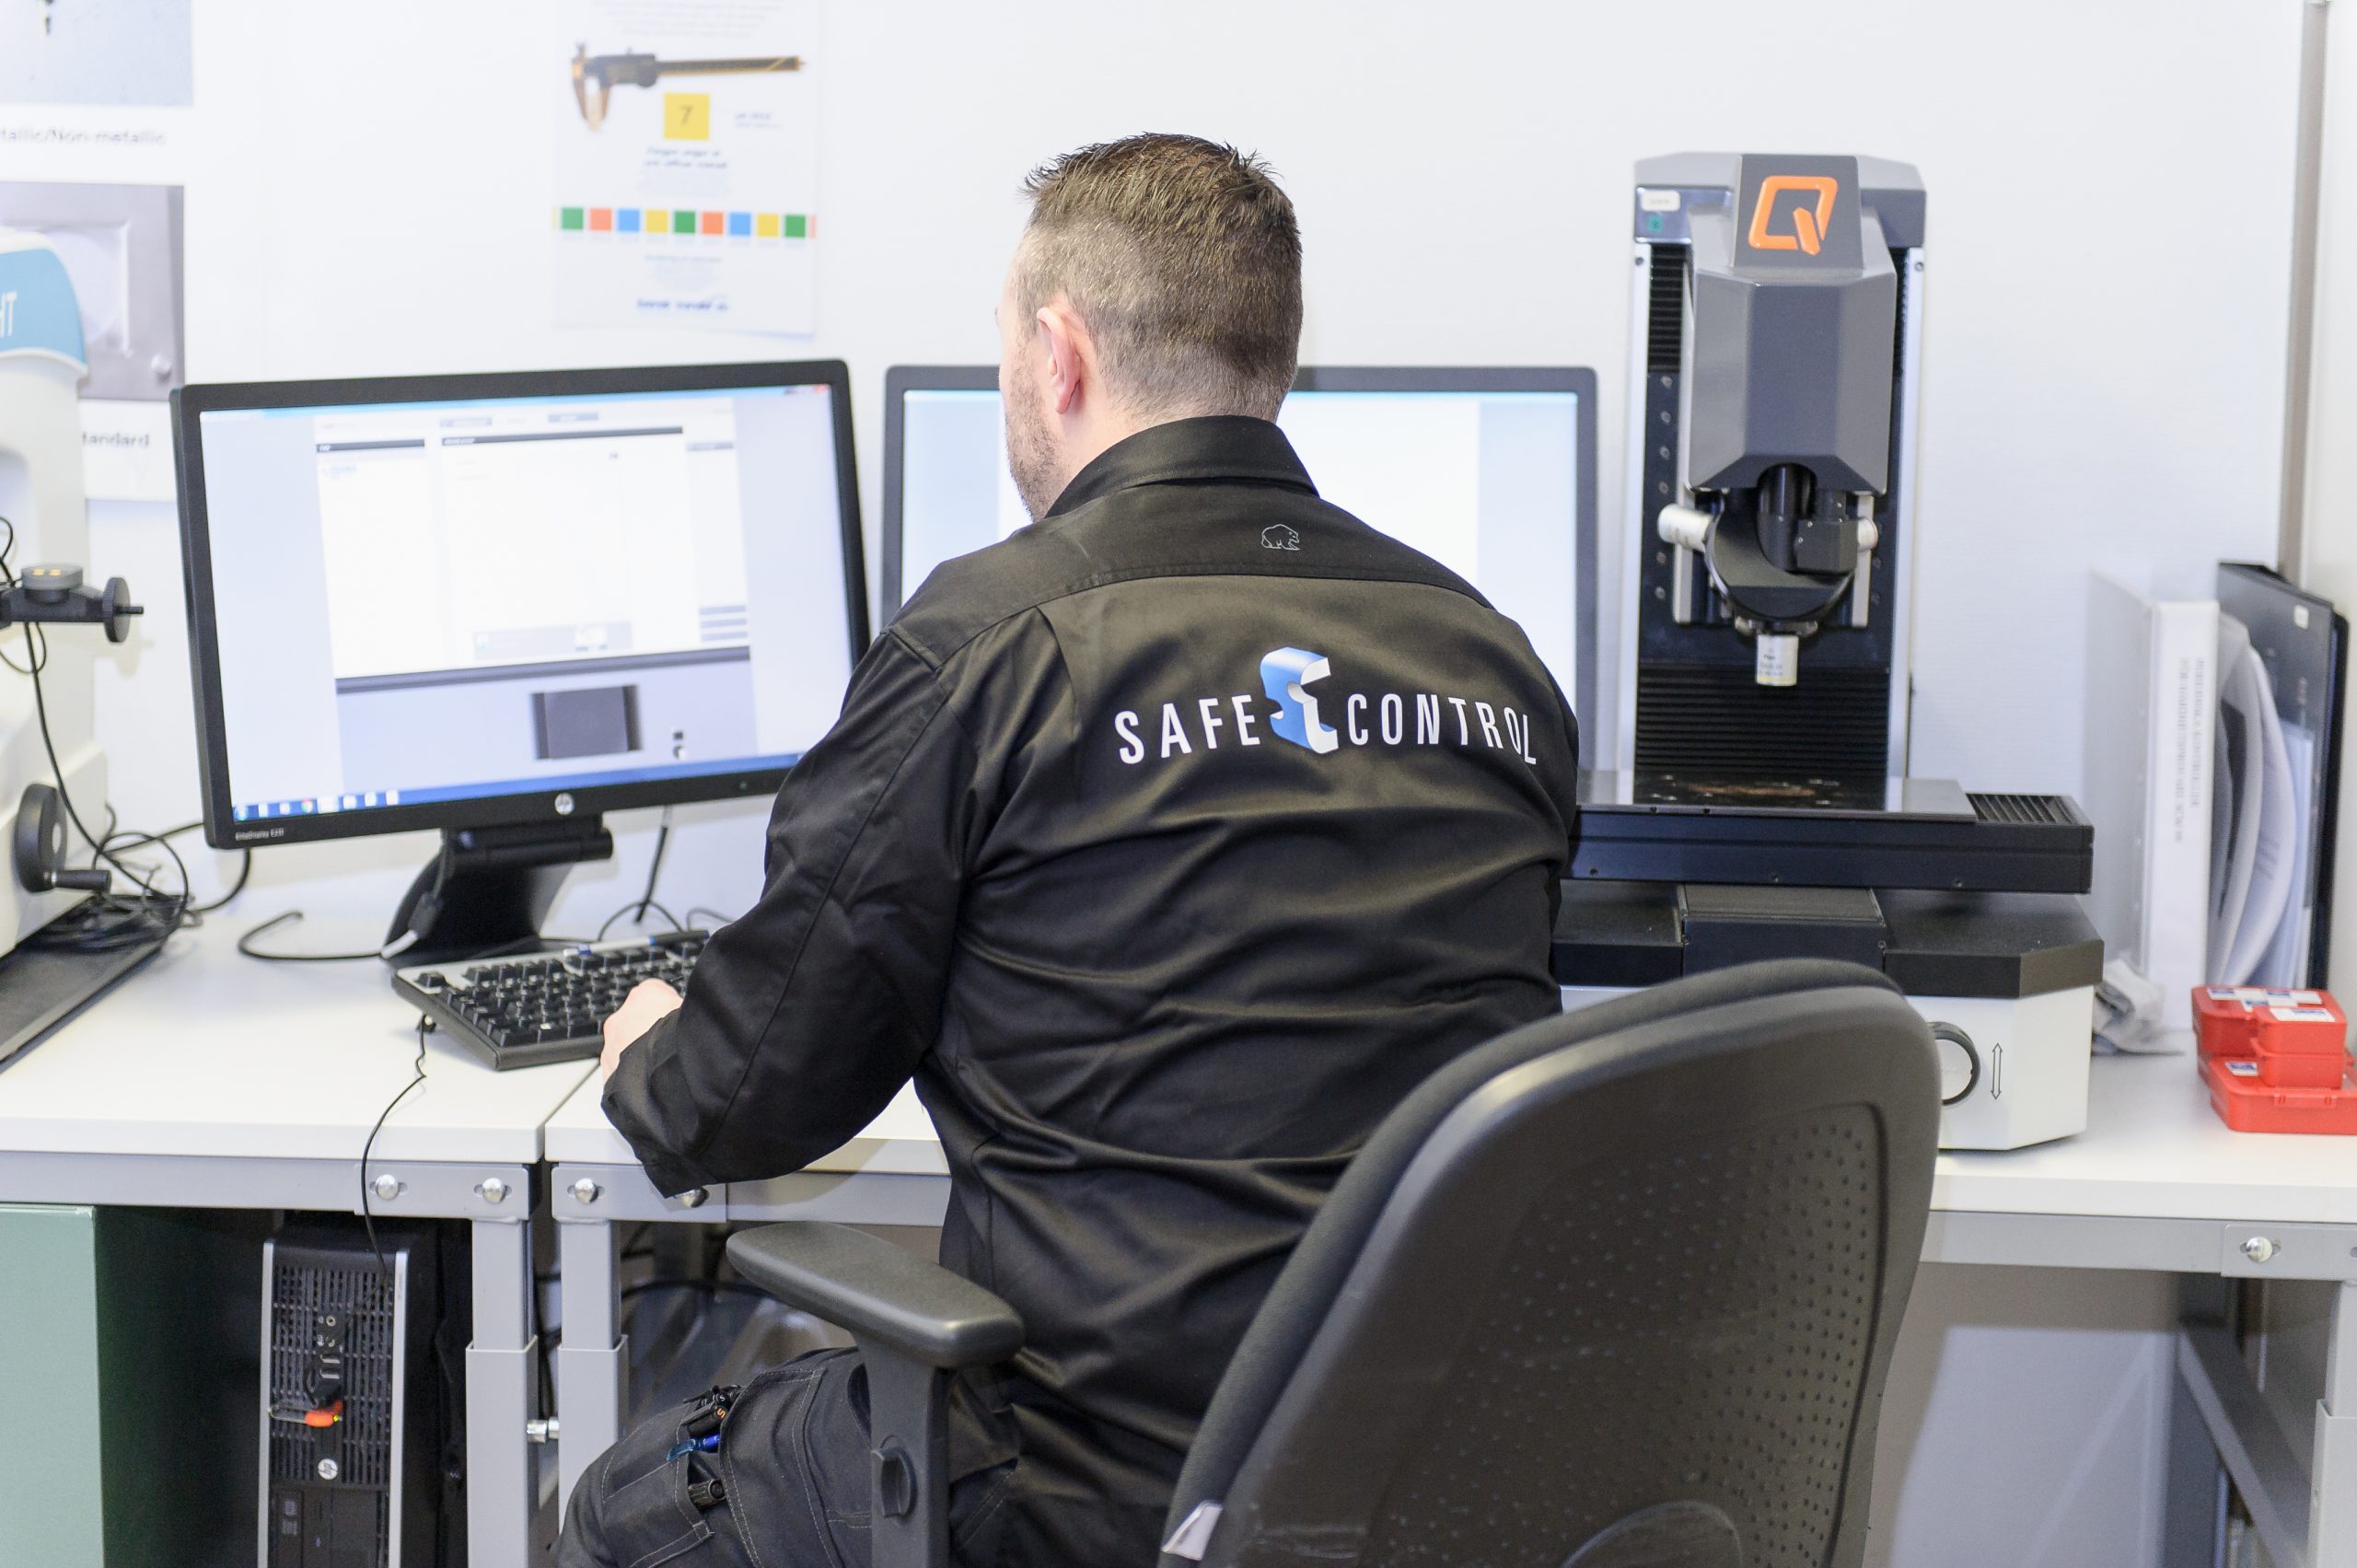
In hardness testing, also called hardness measurement, we use a force (load) where a ball or a tip (diamond pyramid) makes an impression in the material. A smaller impression means a harder material.
Hardness testing is done for several reasons:
- Identification and distinction of phases
- Determination of hardness profiles in welded joints
- Determination of hardness profiles in surface hardened materials
- Measurement of hardness in basic material
- Measurement of surface hardness in fasteners
- Measurement of hardness in surface layers
- Evaluation of diffusion (mainly carburization and decarburization)
- Evaluations of segregation
- Evaluations of deformation
- Control of curing depth
- Estimation of tensile strength
Scope of Accreditation
- SS-EN 9015-1
- SS-EN ISO 6506-1
- SS-EN ISO 6507-1
- SS-EN ISO 6508-1
- ASTM E10
- ASTM E384-11 e1
- ASTM E18

Hardness testing
We perform hardness testing according to:
- Vickers
- Mikro-Vickers
- Brinell
- Rockwell C
Contact person
Johan Ageryd
Head of Metallography
Phone: +46 (0)31-65 64 94
first.lastname@safecontrol.se

Accreditation
Safe Control Materialteknik AB is accredited since 2001 and has had flexible accreditation since 2016.
All testing takes place against European and international standards.
See our Scope of Accreditation »


