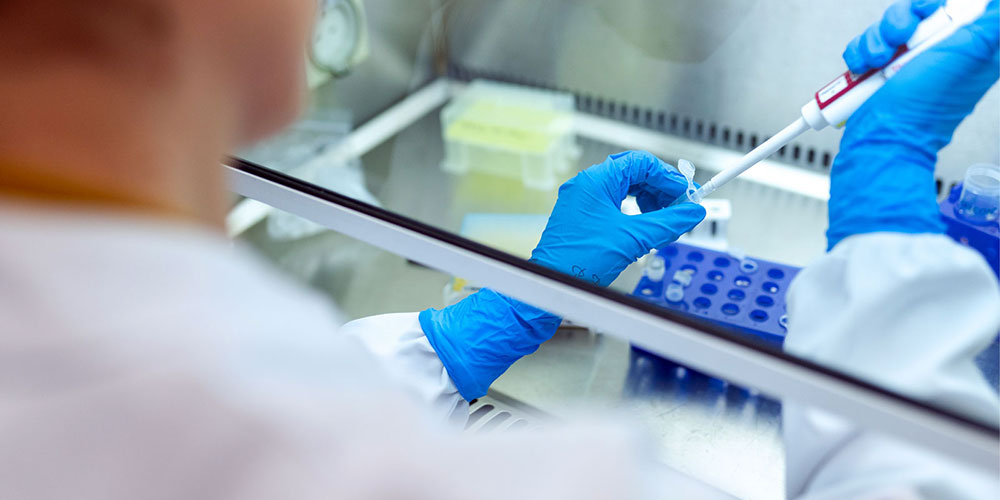
Breakdown and damage examination
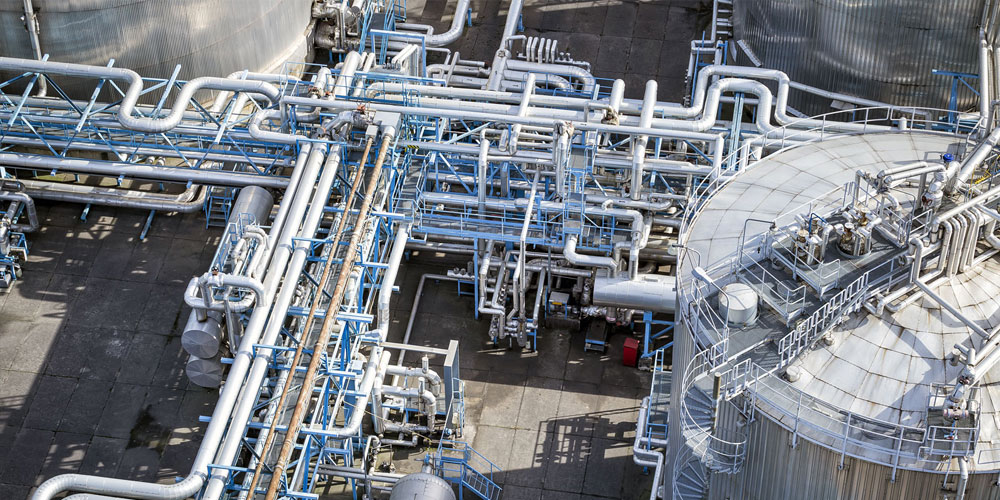
Damage and breakdowns can have their cause in fatigue, corrosion, defects, heat exposure, material selection, environment and overload – to name a few.
For our customers where production is stagnant, time is an economic factor and the question of what has gone wrong must be resolved quickly. We are an independent party that performs our assignments in confidence and with a complete laboratory we can shorten lead times.
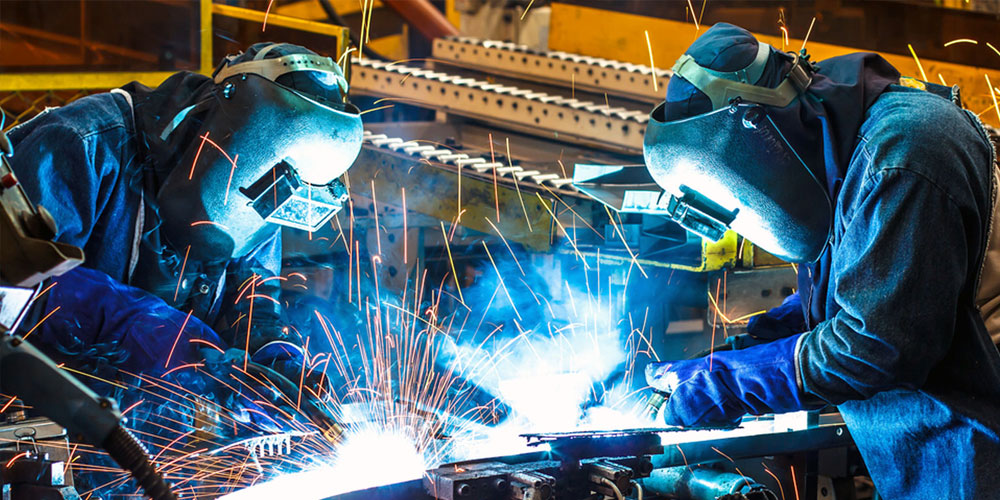
Safe Control has many years of experience regarding the problems and damages that can be related to welding technical problems. The assignments range from short questions to more extensive investigations.
The laboratory conducts systematic impartial examinations in order to investigate the cause of damage in connection with breakdowns. Part of this work is to gather important information from the client, to examine the obtained material with the help of ocular, macroscopic and microscopic examination (in light optical microscope and in scanning electron microscope), so-called metallographic examination.
A basic definition of damage or breakdown is the inability of a component, machine or process to function properly and as expected. This can involve extensive examinations, which (in addition to metallography) also include chemical analyzes and mechanical testing.
The purpose of this is that it should lead to an answer as to the cause of the damage, or breakdown, and thereby be able to recommend appropriate measures and changes.
It is not always a single cause
Often it is not only a single cause that is the basis for damage or a breakdown, but there can be several factors that play a role. In some cases, it has been shown that the absence of one of the influencing factors was sufficient to prevent damage/breakdown.
The important thing in an investigation is to maintain an open mind and not to focus on the most probable or easily accessible cause, a so-called silver-bullet theory, as it can be multifaceted.
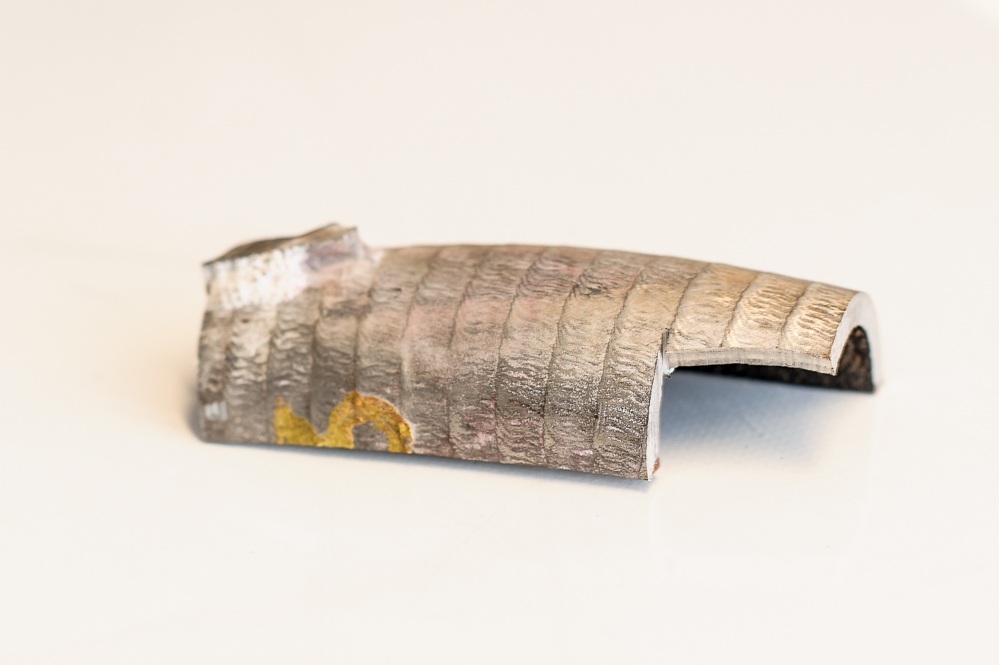
An insight into accident investigations
Here are two PDF documents that show the procedure and flow chart of a damage/breakdown investigation.
Approach | Stages of a failure analysis »
Flow chart | Timeline of an organized failure investigation »
Contact persons
Lars Andersson
Head of Breakdown and Damage Examinations
Phone: +46 (0)31-65 64 86
Johan Ageryd
Head of Metallography
Phone: +46 (0)31-65 64 94
first.lastname@safecontrol.se

Accreditation
Safe Control Materialteknik AB is accredited since 2001 and has had flexible accreditation since 2016.
All testing takes place against European and international standards.
See our Scope of Accreditation »
