Macro- and microscopic examination
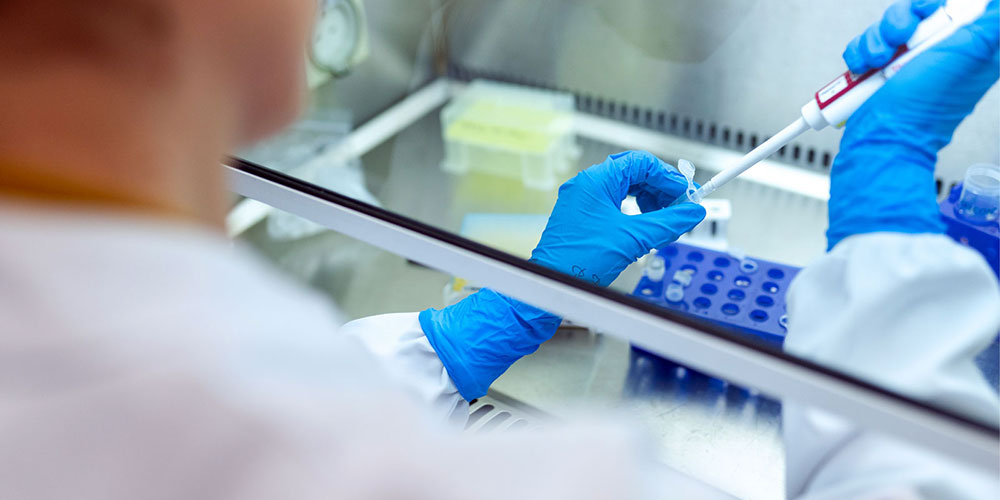
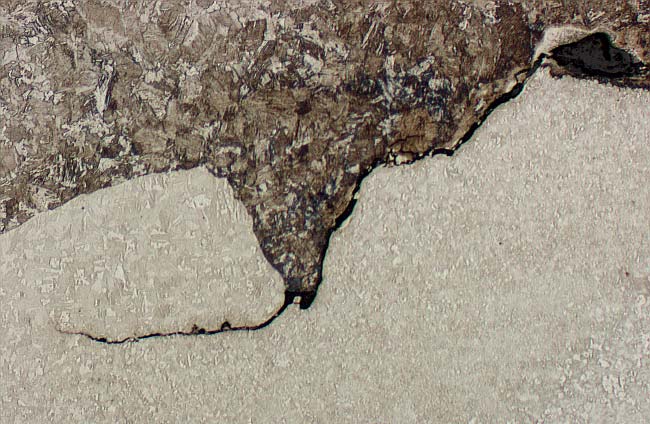
A macroscopic and microscopic examination is a part of our testing primarily performed through optic microscopes. In some cases a scanning electron microscope (SEM). This corresponds to a large part to what we call a metallographic examination.
The macro- and microscopic examination is, seen from our perspective, somewhat broader as we do not only examine metals and alloys with regard to structure and appearance.
We can detect the presence of cracks, pores, inclusions, insufficient combustion, and more.
One part of the examinations performed in the laboratory is the so called procedure testing, where our laboratory is accredited for macro- and microscopic examinations of welds, in accordance to SS-EN 1321 and SS-EN ISO 17639.
Here, assessment of welded joints is performed on the basis of acceptance limits specified in prescribed standards where both shape deviations and discontinuities are taken into account.
Scope of Accreditation
- SS-EN 1321
- ISO 17639
- SS-EN ISO 17639
- SCMM 2
- ASTM E3
- ASTM E112
- ASTM A262| Practise A
- ASTM A923 | Method A
- SCSEM 1
- ASTM-E45-18A
Contact person
Johan Ageryd
Head of Metallography
Phone: +46 (0)31-65 64 94
Lars Andersson
Head of Breakdown and Damage Examination
Phone: +46 (0)31-65 64 86
first.lastname@safecontrol.se

Accreditation
Safe Control Materialteknik AB is accredited since 2001 and has had flexible accreditation since 2016.
All testing takes place against European and international standards.
See our Scope of Accreditation »
